Belt Alignment:
- Verify the correct alignment of the belt used in conjunction with the pulleys and guide rollers.
- Ensure the belt stays centered between the rollers while pushing and releasing the diabolo (1) several times.
- If necessary, make adjustments to achieve proper alignment.
- The lateral movement of the diabolo should be smooth.
- Ensure that the downward movement of the diabolo is also smooth.

Belt Tension:
2. Check the tension of the belt (2).
- Make sure that the spring is stretched out by 11mm.
- To adjust the measured diameter value, use a 700C wheels, or the largest diameter available.
- Navigate to TEST OUTPUTS.
- Activate 8X1 DMU Step 1.
- Go to MEASURING INSTRUMENTS.
- Select MM WHEEL DIAMETER line (1).
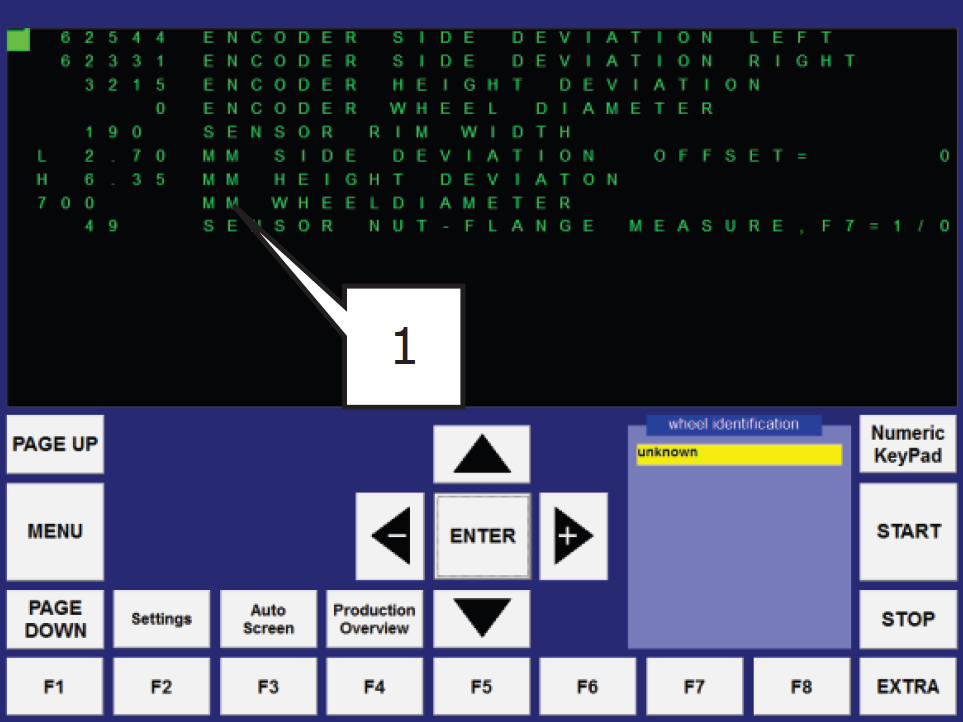
- Without any wheel on the DMU, the default value is 700; if the value on the screen differs, press <ENTER> to reset it (ensure that the measuring arm is touching the stopper bolt (2) and the sensor (3) is ON).

- Insert the wheel in the DMU, keeping it vertical. The displayed value should be the actual outer diameter of the rim.
- If not, remove the wheel from the DMU and adjust the stopper bolt and sensor accordingly.
- After the adjustment, recheck the value to confirm it reads the actual value. Repeat the procedure if necessary until it's correct.
- After completing the measurement setting, set the sensor distance (4) to 1mm.
- Deactivate 8X1 DMU Step 1.
Spring Tension:
3. Adjust the spring tension (1) to ensure proper functioning.

- The spring should be strong enough to pull the measuring arm firmly against the stopping bolt but loose enough to switch OFF the sensor (2) when inserting a light wheel in the DMU.
- Insert a 16-inch wheel (or your lightest wheel) into the DMU. The sensor (2) should just switch OFF. If needed, adjust the spring tension by loosening the ball joint (3) and making the spring longer or shorter.
- Tighten the locking nuts and insert the clip after completing the adjustment.
These steps ensure that both the belt and spring are correctly calibrated for smooth and precise operation.